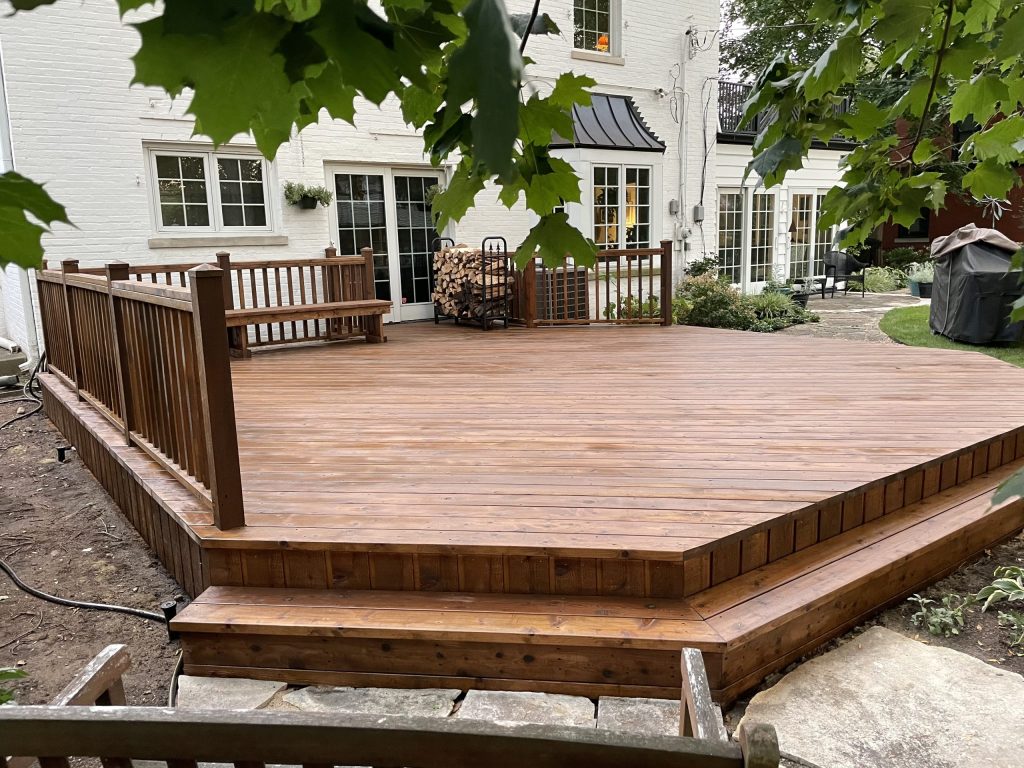
Need to repair a deck? This guide provides step-by-step instructions to assess deck damage, fix structural issues, and improve surface appearance. Equip yourself with the right tools and materials to ensure your deck is safe and looks great.
Key Takeaways
- Conducting a thorough assessment of both structural and cosmetic damage is crucial before starting any deck repair work to ensure safety and prevent further damage.
- Having the right tools and materials, such as decking lumber, pry bars, and modern deck screws, is essential for effective deck repair and maintenance.
- Regular cleaning, inspection, and maintenance of the deck, including annual inspections and routine cleaning, are vital for extending its lifespan and maintaining its appearance and safety.
Assessing Deck Damage
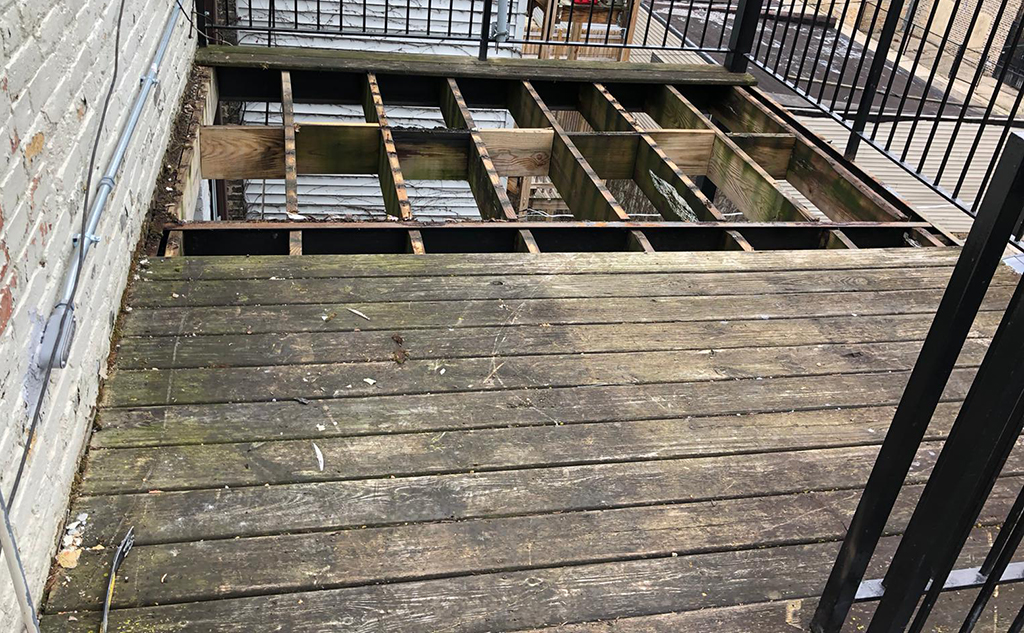
Before you start the repairs, it’s important to assess the current condition of your deck. This involves checking for structural integrity and cosmetic damage. A comprehensive assessment helps identify areas that need immediate attention, preventing further damage and ensuring safety.
Structural issues often manifest as significant splintering, cracking, or warping of the deck boards. Loose or missing fasteners can compromise the deck’s stability. To assess rot, try sinking the tip of a screwdriver into a post or joist; if it goes in easily, major renovation is required. Cosmetic problems, on the other hand, may include fading, discoloration, and surface imperfections that detract from the deck’s appearance.
Understanding the condition of the deck will allow you to tackle structural or cosmetic issues effectively. The following sections will guide you through inspecting for structural issues and identifying cosmetic problems that may require attention.
Inspecting for Structural Issues
A safe and durable deck is largely dependent on its structural integrity. Start by inspecting common areas for wood rot, such as corners, railings, and stairs. Also, check fasteners for rust and ensure all structural screws and bolts are tight. Loose or corroded fasteners can lead to significant structural issues over time.
When removing deck boards, inspect joists, beams, and posts for signs of damage or deterioration, such as sagging, leaning, or wobbling. Inspect the wood closest to the home for signs of movement, such as dirt or dust. This can often help identify a loose ledger board.
Deck railings play a significant role in the overall safety of the deck, so their stability must be ensured.
Identifying Cosmetic Problems
Cosmetic issues, although less critical than structural problems, can significantly impact the deck’s appearance. Excessive fading or discoloration suggests that re-painting or re-staining may be necessary to restore the deck’s look. Surface imperfections like splinters or minor cracks can be addressed with sanding and wood filler, which will be discussed in detail in later sections.
Essential Tools and Materials
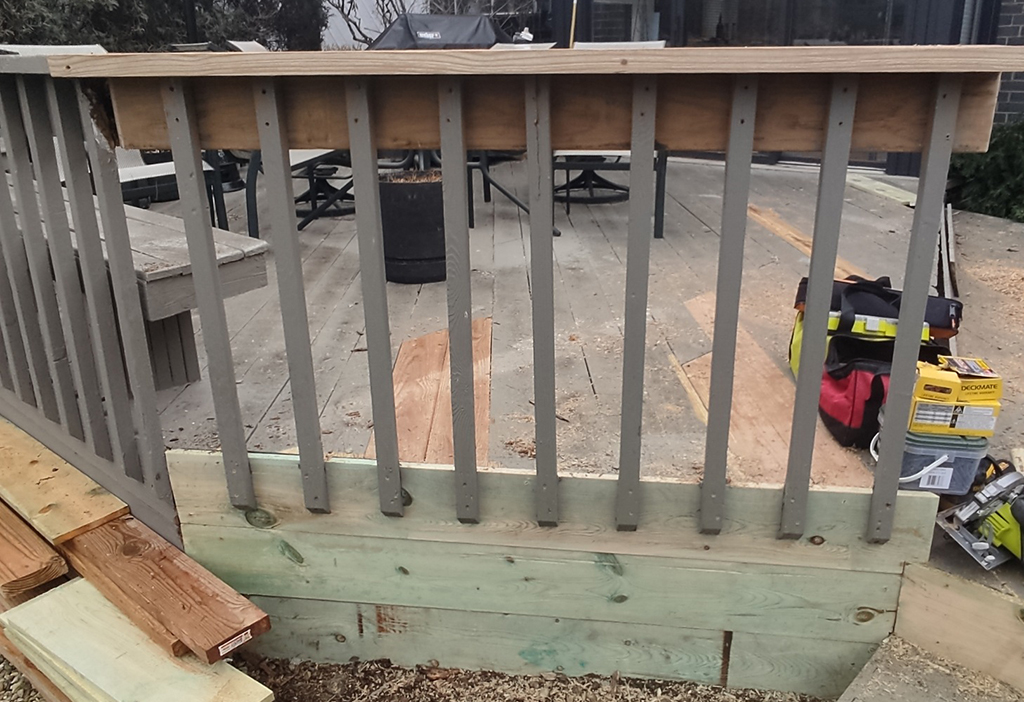
Proper deck repair hinges on having the appropriate tools and materials. Equipping yourself with the necessary items ensures that you can tackle any repair job with confidence and precision. Some essential tools and materials for deck repair include:
- Pry bars
- Circular saws
- Screwdrivers
- Hammer
- Tape measure
- Level
- Safety goggles
- Work gloves
- Pressure-treated lumber
Having the right gear makes all the difference when it comes to deck repair.
Basic Tools
To begin with, essential tools for deck repair include:
- Pry bar: particularly useful for removing damaged boards efficiently
- Circular saw: for cutting and shaping deck boards
- Pressure washer: for cleaning the deck surface before repair
- Deck screws: modern deck screws with reverse threads prevent mushrooming, making them very effective for securing deck components.
A small table saw, also known as a worksite saw, is perfect for quickly ripping boards to the required width. Additionally, having a jigsaw, speed square, and drill driver in your toolkit will make the repair process smoother and more efficient.
Repairing Structural Components
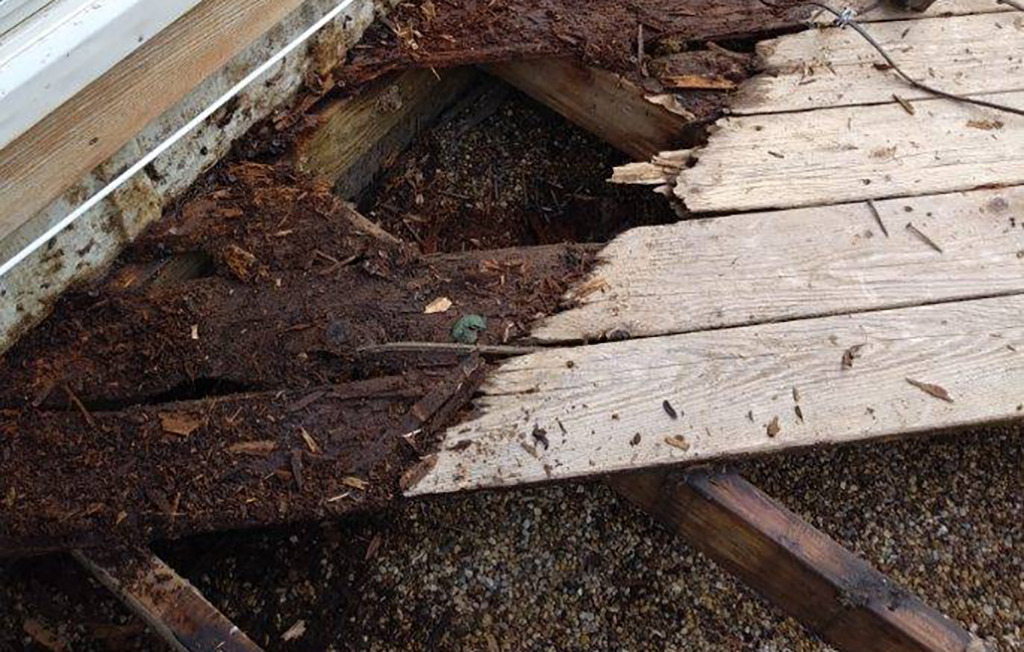
Maintaining the deck’s stability and safety requires attention to its structural components. This involves replacing damaged joists, reinforcing ledger boards, and stabilizing posts and railings. Proper attention to these components ensures that the deck can withstand daily use and adverse weather conditions.
Replacing Damaged Joists
Damaged joists should be replaced immediately to prevent further structural issues. Carefully remove the damaged joists using a reciprocating saw without harming adjacent planks.
To maintain the deck’s stability, new joists should be pressure-treated and installed level with existing ones. This ensures that the deck remains safe and functional for years to come.
Reinforcing Ledger Boards
Ledger boards are crucial for keeping the deck attached to the house and preventing collapses. Proper flashing is essential to prevent water infiltration and potential damage. To secure loose ledger boards, use carriage bolts and check for any signs of water damage or missing flashing.
Following the International Residential Code (IRC) guidelines for lag-screwing and through bolting will ensure the ledger boards handle both vertical and lateral loads.
Stabilizing Posts and Railings
Inspect each vertical post for signs of rot or damage and replace any compromised posts to maintain deck stability. Unstable railings and stairs can result from wood rot, pest damage, or incorrect construction. Tighten loose railings by adding extra screws or using longer bolts.
Ensuring footings are installed below the frost line can prevent movement due to temperature fluctuations.
Fixing Surface Issues
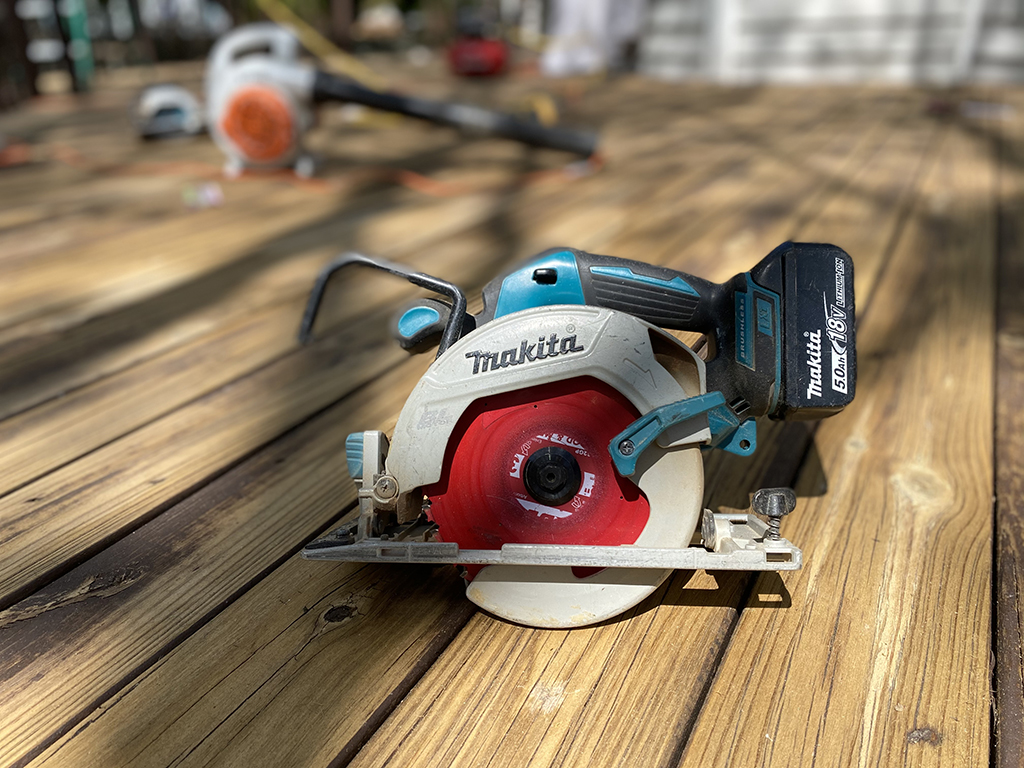
For both the aesthetic appeal and safety of your deck, it’s necessary to address surface issues. This includes replacing damaged boards, filling cracks, and sanding rough areas.
Proper surface maintenance ensures that the deck remains inviting and safe for use.
Replacing Deck Boards
Replacing damaged or rotting boards is essential to prevent further damage and ensure safety. Here are some steps to follow for a successful repair:
- Cut out the damaged sections cleanly.
- Ensure that the repair blends in with the surrounding area for a natural look.
- Use adjacent boards as a guide when cutting replacement boards to ensure a seamless fit.
- This approach saves time and money without the need to rebuild the deck’s structure.
By following these steps, you can make your deck repair look as inconspicuous as possible.
Sanding and Smoothing
Sanding rough areas and splinters is crucial to prevent injuries and improve the deck’s overall appearance. Proper preparation, including cleaning and sanding, is essential for achieving the best results when staining an old deck.
This not only enhances the deck’s look but also contributes to its longevity.
Cleaning and Preparing the Deck
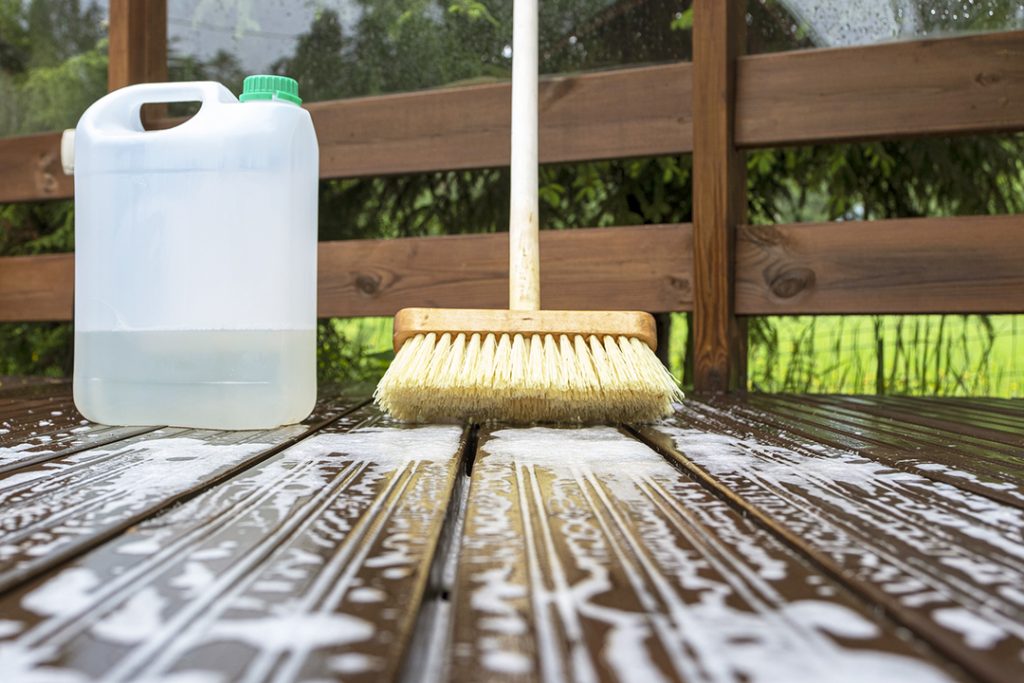
Before staining and sealing, the deck must be cleaned and prepared. This involves choosing the right cleaner, pressure washing, and scrubbing and rinsing the surface.
Proper preparation ensures that the deck is ready for staining, which enhances its appearance and protection.
Choosing a Deck Cleaner
Choosing the right deck cleaner depends on the deck’s material and specific needs. Here are some recommendations:
- For pressure-treated lumber, select cleaners formulated to remove accumulated dirt and grime.
- Redwood and cedar decks benefit from cleaners that can remove tannin stains without bleaching the wood’s natural color.
- For composite decks, use gentler cleaners that won’t strip away the protective layer or damage the surface.
Pressure Washing Tips
Using a pressure washer can be highly effective for cleaning your deck, but it’s important to use the right techniques to avoid damage. Here are some tips to follow:
- Start with the lowest setting and gradually increase pressure if needed.
- Keep the nozzle at least 12 inches from the deck surface.
- Move the nozzle in the direction of the wood grain to prevent splintering.
By following these tips, you can safely and effectively clean your deck with a pressure washer.
Scrubbing and Rinsing
Once you have applied the cleaning solution, follow these steps:
- Grab a stiff-bristle brush.
- Start scrubbing the areas with stubborn grime or mildew. This will help to loosen and remove the tough buildup more effectively.
- Use a gentle cleaning solution like a white vinegar-baking soda-water mixture to safely treat mold on timber decks without harsh chemicals.
Following the scrubbing process, rinse the deck thoroughly with clean water to remove all of the cleaning solution and loosened debris. Make sure to allow the deck to dry completely before moving on to the next step, which is staining and sealing. This will ensure the best results and protection for your deck.
Staining and Sealing the Deck
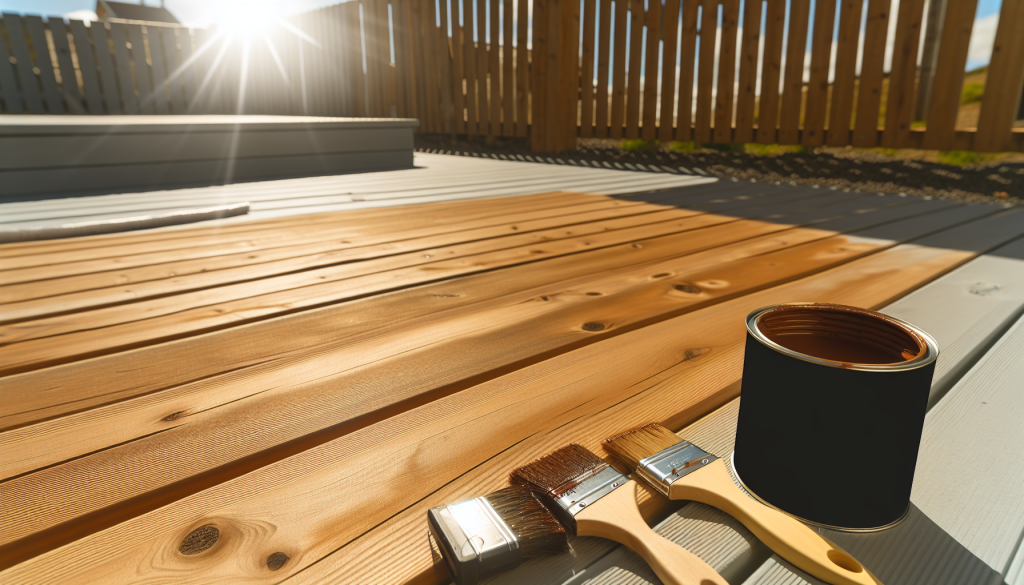
Staining and sealing the deck not only enhances its appearance but also provides crucial protection against the elements. This helps to maintain the deck’s overall condition and durability in the long run. This process involves selecting the right stain, applying it correctly, and ensuring even coverage.
Regular staining and sealing can extend the lifespan of your deck and maintain its beauty.
Selecting the Right Stain
Choosing the right stain for your deck is crucial for both appearance and protection. Solid stains provide the best protection against UV rays for heavily trafficked decks. Water-based stains are easier to clean up and have fewer odors compared to oil-based stains.
Popular options for older decks include DEFY Extreme Semi-Transparent Exterior Wood Stain and Ready Seal Natural Cedar Exterior Wood Stain and Sealer.
Application Techniques
Applying the stain correctly is crucial to achieve the best results. Use a roller for covering large areas quickly, but a brush is necessary for details and edges.
After cleaning, applying a wood brightener can restore the deck’s natural color and enhance the appearance of the stain. Apply the stain in thin, even coats, working in the direction of the wood grain to ensure deep penetration and avoid blotchy or uneven staining.
Maintaining Even Coverage
To maintain even coverage, always follow the manufacturer’s instructions and ensure you maintain a wet edge during application. This helps avoid lap marks and ensures a cohesive look.
Applying the stain during cooler parts of the day can prevent it from drying too quickly, ensuring even coverage.
Enhancing Deck Features
Once the basic restoration is complete, consider enhancing your deck features to improve its usability and aesthetic appeal. Adding new railings, built-in seating, and lighting solutions can transform your deck into a more inviting outdoor living space, perfect for enjoying your outdoor space.
Installing New Railings
Modern railing options can significantly update the look and feel of your deck while reducing the need for regular maintenance. Materials like vinyl, composite, and metal are popular choices for modern, low-maintenance railings. Ensure that the posts are properly anchored to maintain stability and use corrosion-resistant fasteners for secure attachment.
Adding Built-in Seating
Built-in seating adds functionality and maximizes space on your deck. Consider the deck’s layout and existing furniture to seamlessly integrate built-in seating. Measure and mark the seating area, ensuring proper support and stability by securely fastening the seating structures to the deck framework.
Integrating Lighting Solutions
Integrating lighting into your deck design not only enhances the ambiance but also significantly improves safety during evening hours. String lights provide a soft, diffuse glow perfect for creating a cozy atmosphere. Ensure that all electrical components are properly rated for outdoor use to avoid potential hazards.
Cost Considerations

To effectively plan and budget, it’s crucial to understand the costs involved in deck repair and maintenance. Deck repair costs range from $750 to $3,200 depending on repair size, deck material, and damage source, while deck replacement typically costs between $10,000 and $20,000.
DIY vs. Professional Repairs
DIY repairs like power washing, board repair, and refinishing can save on overall deck-building costs. However, hiring a professional is beneficial for load-bearing structures to ensure proper inspection and compliance with local building codes.
Budgeting for Materials and Labor
Labor costs for deck repairs range from $150 to $550, depending on the type of repair and material used. Labor costs for replacing deck boards range from $30 to $130 per square foot, depending on the material type.
Scheduling deck projects during off-season periods, such as winter, can potentially benefit from contractor availability and material discounts.
Timeline for Deck Repair Projects
A deck restoration project can typically be completed over two weekends. This timeframe allows for proper preparation and attention to detail. However, the timeline can vary based on factors such as material availability and weather conditions. Planning and ordering materials early can prevent delays and ensure a seamless transition to construction.
Project Duration
Decking installation time can vary based on the chosen material, such as traditional wood or composite decking. The duration of deck repair projects also depends on the complexity of the work and the type of repairs needed.
Weather Considerations
Heavy rain, snow, or extreme heat can impede deck construction progress and compromise the quality. It’s essential to plan for inspections by local authorities, which can vary based on weather and other factors, to avoid unforeseen delays.
Common Deck Repair Challenges
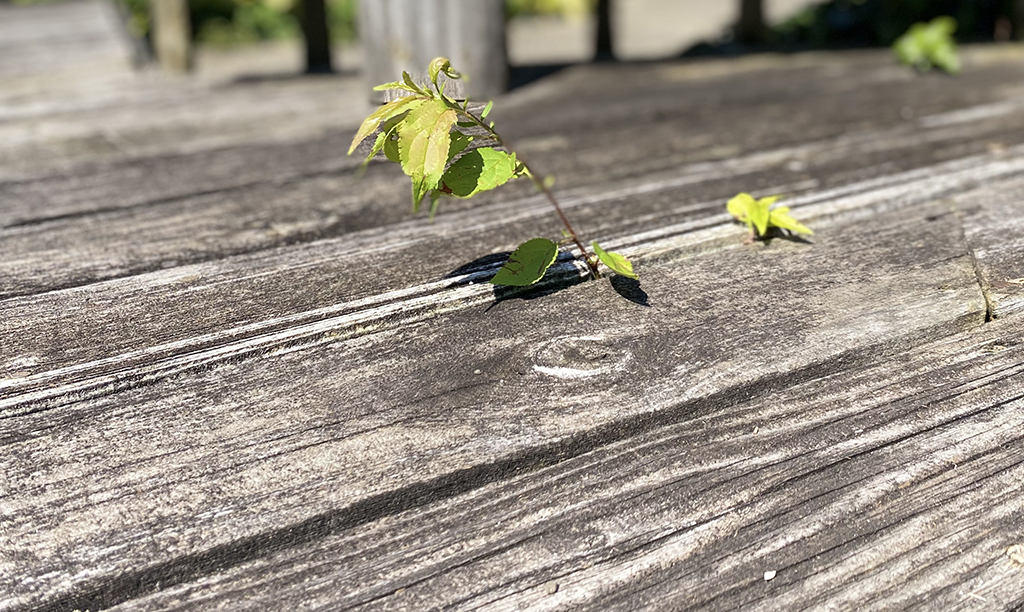
Sagging areas, loose nails, and erosion around footings are challenges often accompanying deck repair projects. Addressing these issues promptly is crucial to maintaining the deck’s structural integrity.
Dealing with Persistent Mildew
Persistent mildew can be managed with regular cleaning and treatments using mildew-resistant sealers. To get rid of stubborn mildew, follow these steps:
- Use a cleaner specifically designed for mildew.
- Thoroughly scrub the affected area.
- Rinse the area with water to remove any remaining cleaner.
- Repeat the process if necessary.
This will help ensure the effective removal of the mildew.
Preventing Future Damage
Preventing future deck damage involves:
- Ensuring proper drainage
- Regular maintenance to avoid water accumulation
- Trimming nearby plants
- Removing snow promptly
These steps can help extend the deck’s longevity.
Regular Maintenance Tips
Regular deck maintenance is essential to keeping your deck in good shape and prolonging its lifespan. Establishing a maintenance routine ensures that potential problems are detected and addressed early.
Annual Inspections
Inspect the deck every year for wood rot and signs of pests. Ensure that flashing is in place and there is no improper water collection around the deck. Hire a professional for inspection if the deck is over ten years old.
Routine Cleaning
Routine deck cleaning helps prevent the buildup of debris that can lead to mold and mildew growth. Sweep the deck regularly to remove debris that can cause staining or mildew.
Touch-Up Repairs
Touch-up repairs involve replacing individual decking boards and tightening loose fasteners to maintain deck safety and appearance.
Performing regular maintenance and addressing repairs promptly can help ensure your deck’s longevity and structural soundness. Regular upkeep is essential to maintain the deck’s appearance and longevity.
Summary
Repairing and maintaining your deck is a comprehensive process that involves assessing damage, gathering the right tools and materials, fixing structural and surface issues, and enhancing deck features. Regular maintenance and timely repairs can significantly extend the lifespan of your deck, ensuring it remains a safe and beautiful part of your home. By following this guide, you’ll be well-equipped to tackle any deck repair project and transform your outdoor space into a welcoming retreat.
Frequently Asked Questions
How often should I inspect my deck for damage?
Inspect your deck annually to catch potential damage early and ensure its safety and longevity.
Can I use a pressure washer to clean my deck?
Yes, you can use a pressure washer to clean your deck, but start with the lowest setting and keep the nozzle at least 12 inches away from the surface. This will prevent any damage to the deck.
What is the best way to deal with persistent mildew on my deck?
The best way to deal with persistent mildew on your deck is to scrub thoroughly using a mildew-specific cleaner. Regular cleaning and treatments with mildew-resistant sealers can also help.
How do I choose the right stain for my deck?
Consider the age, traffic level, and weather exposure of your deck when choosing a stain. For heavily trafficked decks, solid stains offer the best protection against UV rays.
Should I hire a professional for deck repairs?
Yes, hiring a professional for deck repairs is best, especially for load-bearing structures to ensure proper inspection and compliance with local building codes.
