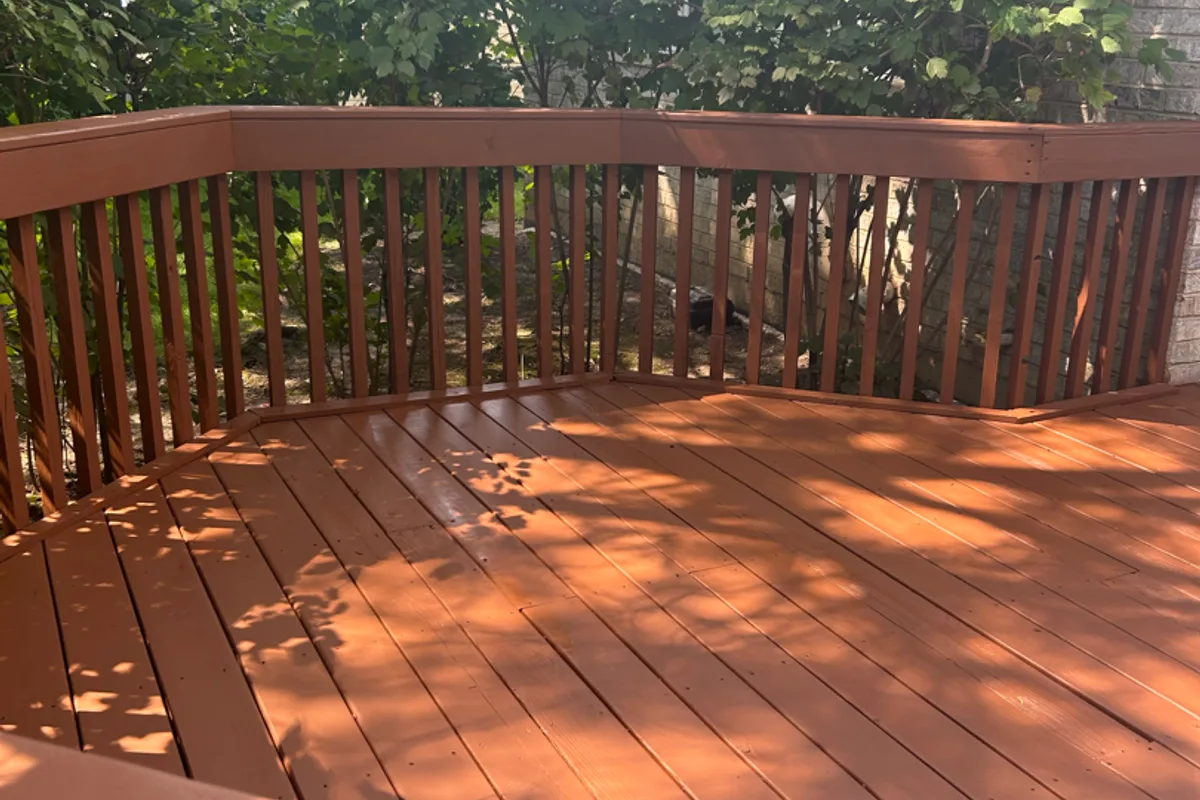
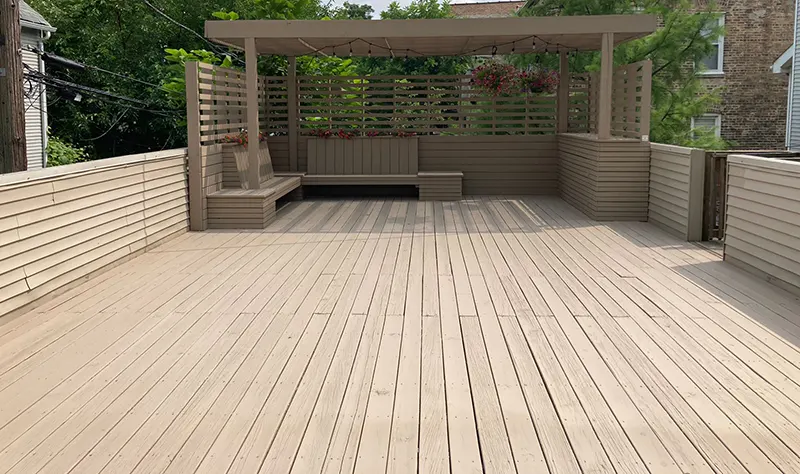
Most stain failures are prep failures. Streaks, blotchy color and a coat that peels the next spring almost always trace back to what happened before the stain came out of the can: dirt or mildew left on the wood, an old finish that was never removed, or boards that were still wet. This guide covers how to decide between cleaning, stripping and sanding, the order of the steps, and the two checks that tell you the deck is actually ready.
Key Takeaways
- Bare, gray or lightly weathered wood needs cleaning and brightening. A failing old finish needs stripping. Peeling solid stain or paint needs stripping and sanding.
- Repairs come first: replace rotten boards and reset popped fasteners before any cleaning, so the new wood is prepped with the rest.
- A wood brightener after cleaning or stripping neutralizes the chemicals and reopens the grain so the stain penetrates evenly.
- Rinse at low pressure with a fan tip, along the grain. High pressure furs the wood and leaves marks the stain will show.
- Give the deck at least 48 dry hours after washing, then confirm with the sprinkle test or a moisture meter before staining.
Clean, Strip or Sand? How to Decide
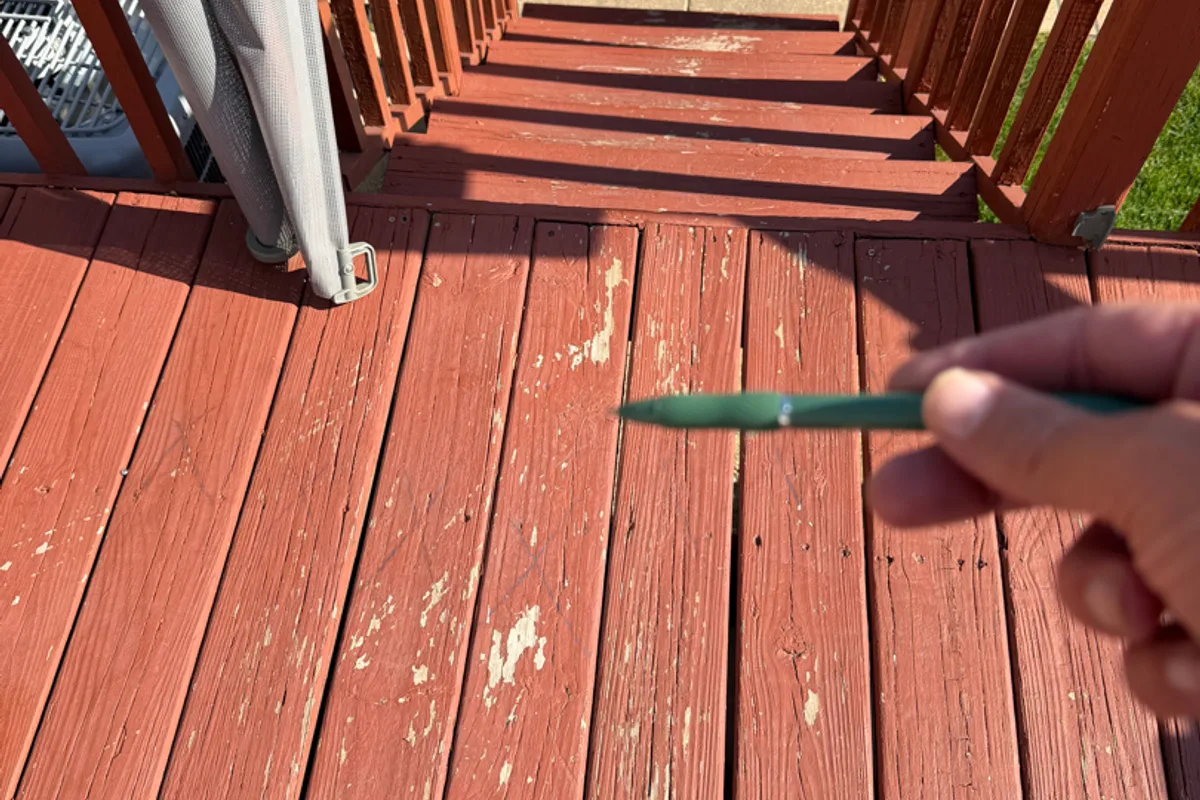
Look at what is on the wood now, because that decides the job.
- Bare wood that has gone gray, or a transparent finish that has simply faded. Clean with a deck cleaner, then brighten. The gray is dead surface fiber and mildew, and a cleaner plus brightener takes it off.
- A semi-transparent stain that is worn but not peeling. If water still beads in places, a cleaner will not remove the remaining finish and the new coat will look blotchy. Strip it, then brighten.
- A solid stain or paint that is peeling. Strip with a chemical stripper, then sand the boards that still hold film. This is the most labor of any prep and the one homeowners most often underestimate.
- A new deck. Smooth new boards carry mill glaze that sheds stain. Once the wood has dried enough, a cleaner and brightener or a light sanding opens the surface. See when to stain a new deck for the waiting periods.
Whatever the route, the goal is the same: clean, bare, open wood fibers that will drink the stain evenly.
Step 1: Inspect and Repair
Walk the deck before any water touches it. Press a screwdriver into boards that look dark or soft, especially at the ends and where they meet the house. Check stair treads, the top rail and the boards under planters. Anything spongy gets replaced now, so the new wood is cleaned, brightened and stained with the rest of the deck instead of standing out later.
Drive popped nails below the surface or, better, replace them with exterior screws. Tighten railing bolts. If the framing underneath shows rot, stop and get it looked at; our deck repair service handles board replacement and structural fixes before the finish work.
Step 2: Clear and Clean
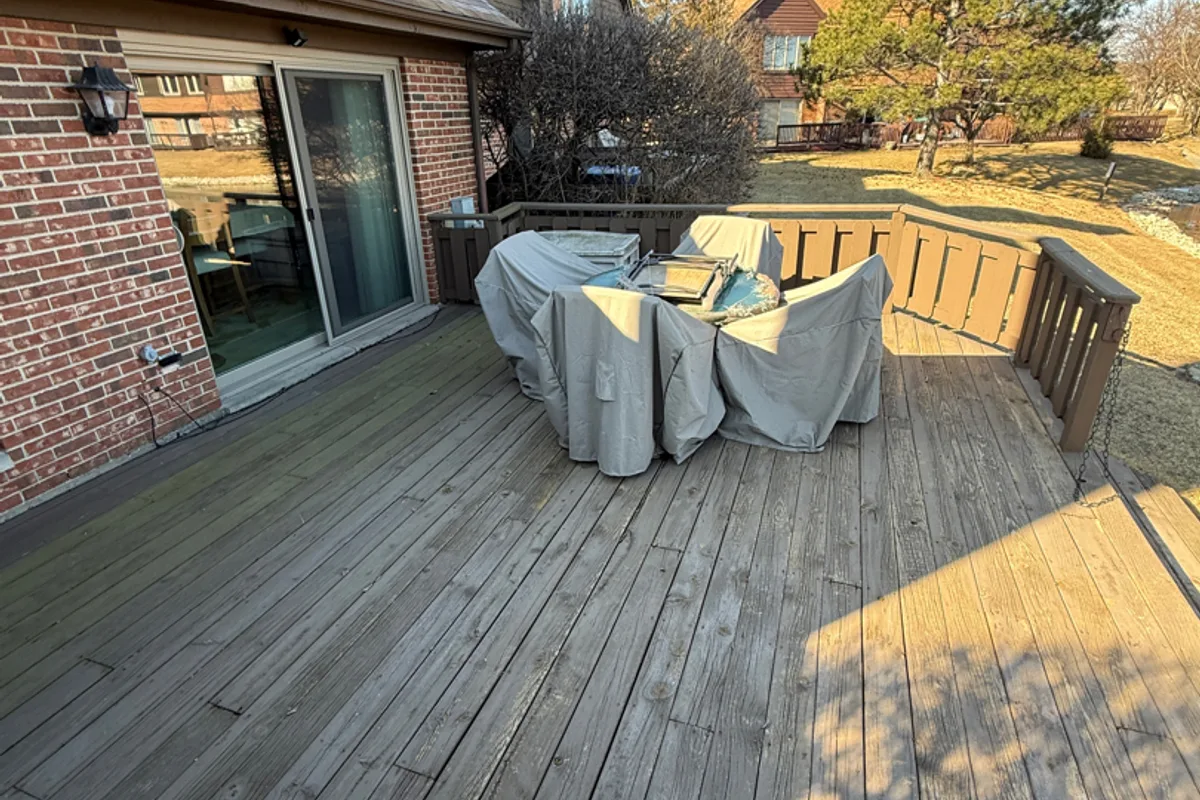
Move the furniture, planters and grill off the deck, and sweep or blow off leaves and debris. Get the dirt out of the gaps between boards with a putty knife; packed debris holds water against the wood all year.
Wet the deck, then apply a deck cleaner with a pump sprayer or a roller. Sodium percarbonate cleaners, sold as oxygen bleach, lift dirt and mildew without bleaching the wood the way chlorine does. Let the cleaner work for the time on the label, usually 10 to 15 minutes, keeping it wet, then scrub with a stiff synthetic brush along the grain. Rinse thoroughly. Any cleaner left in the wood shows up later as blotches under the stain.
Wear eye protection and gloves, and rinse plants near the deck before and after. Do this work out of direct sun so the cleaner does not dry on the boards.
Step 3: Strip if Needed
A deck stripper is a stronger, usually sodium-hydroxide based product that dissolves old stain so it can be rinsed off. Apply it to a section at a time, keep it wet for the time on the label, scrub, and rinse. Stubborn areas get a second application. Strippers darken the wood and leave it alkaline, which is why a brightener is not optional after stripping.
Peeling solid stain and paint often need a stripper plus sanding: the stripper softens the film and sanding removes what the rinse leaves behind. For a large deck with a failed solid finish, this is the point where most homeowners call us.
Step 4: Brighten
A wood brightener is an oxalic or citric acid solution. It neutralizes the cleaner or stripper, lightens the darkening they cause, removes tannin and rust stains, and opens the grain so stain penetrates. Apply it to the wet deck after the final rinse of the cleaning or stripping step, let it sit for the label time, and rinse again. The difference is visible: brightened wood looks like new lumber instead of gray or brown.
Step 5: Sand Where It Counts
Sanding is for rough, furry or glazed areas, not the whole deck. Once the wood is dry, hit raised grain, splinters and any remaining film with 60 to 80 grit on a random orbital sander. Finer grits polish the surface closed and the stain will not penetrate. Sand handrails smooth, since hands notice what feet do not. Vacuum or blow off every bit of dust before staining.
Step 6: Dry, Then Test
This is the step that gets skipped, and it is the one that decides whether the stain penetrates. After the last rinse the wood needs at least 48 hours of dry weather. Shaded decks, decks near the ground and spring decks need longer.
Then check rather than guess. Sprinkle water on a few boards: if it soaks in within a minute the wood is ready; if it beads, wait. A pin moisture meter is better, and we look for readings in the low to mid teens on several boards, checked in the morning. Stain applied over wet wood beads, dries slowly and peels within the season.
Pick the Weather Window
Preparation and staining need the same weather: no rain for a day before the coat, none for one to two days after, highs somewhere between 60°F and 85°F, and nights above 50°F. Avoid staining in direct hot sun, which flash-dries the finish and leaves lap marks. In Chicago that adds up to late spring through early fall, with late August and September the most reliable. Our guide to the best time of year to stain a deck in Chicago goes month by month.
Apply the Stain

With the prep done, application is the easy part. Stir the stain, work a few boards at a time along their full length to keep a wet edge, and back-brush what a roller or sprayer lays down so the stain goes into the wood rather than onto it. Wipe up puddles. One thin coat is right for most penetrating stains on new or recently stained wood; older, thirsty wood may take a second thin coat while the first is still wet. Keep everyone off the deck for 24 to 48 hours.
The complete application guide covers tools, products and dry times, and choosing a stain color helps with the decision before the can is open.
Keep It Clean Afterwards
A stained deck stays stained longer when it stays clean. Sweep regularly, wash it once or twice a year with a mild deck cleaner and low pressure, keep planters on feet so they do not trap water, and clear the gaps between boards each fall. When water stops beading on the surface, it is time for a maintenance coat, usually every two to four years depending on sun and traffic.
When to Call a Professional
Cleaning and brightening a sound deck is a reasonable weekend project. Stripping a failed solid finish, sanding a large deck, or prepping a deck with soft boards and rusted fasteners is a different job, and it is the one where a professional crew saves the most money by getting it right once. Deck Doc has been restoring, staining and sealing decks across Chicagoland since 2015, and our owner brings more than 20 years of finishing experience to every estimate. Request a free on-site estimate and we will tell you whether your deck needs a clean, a strip or a full restoration.