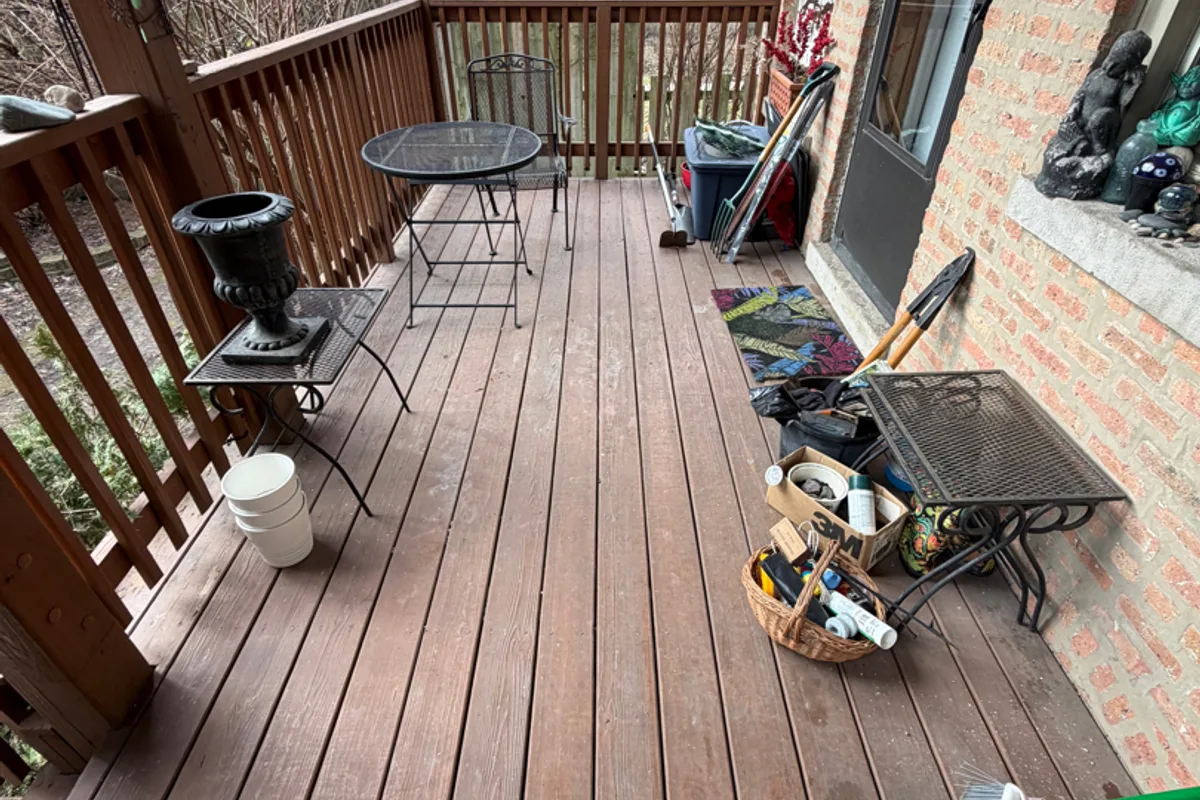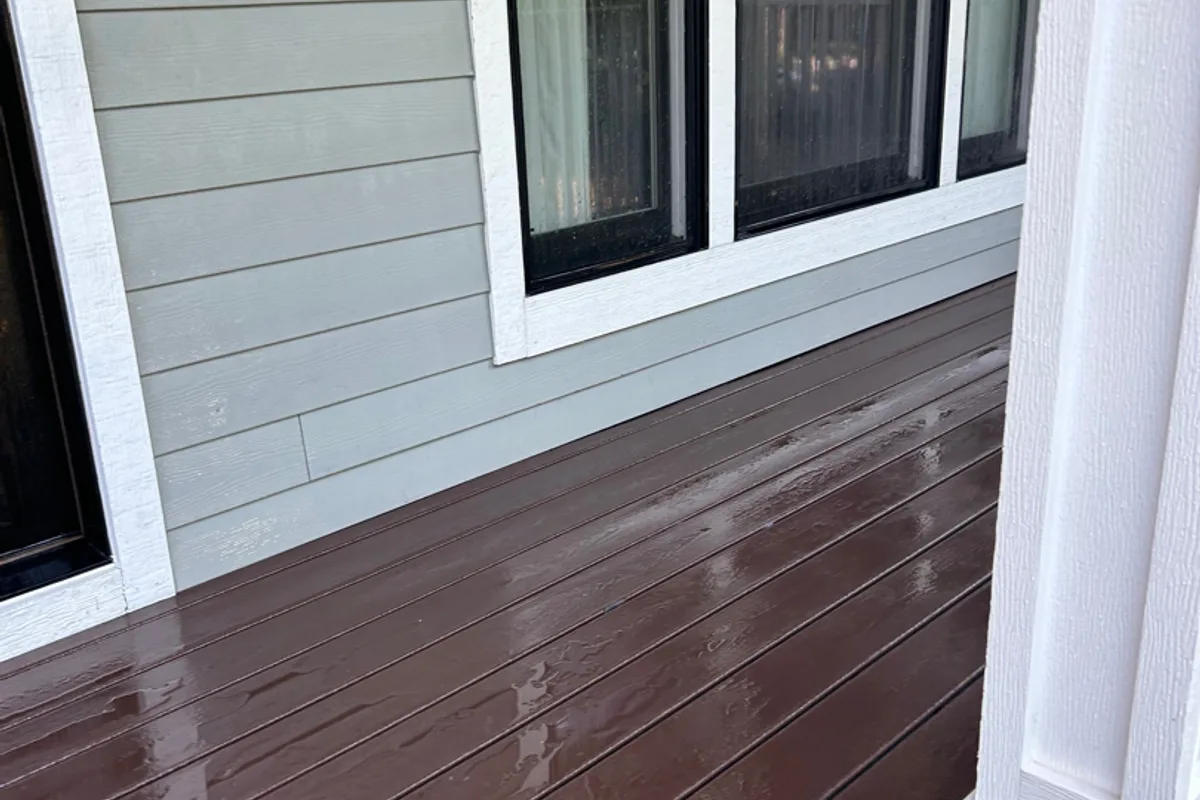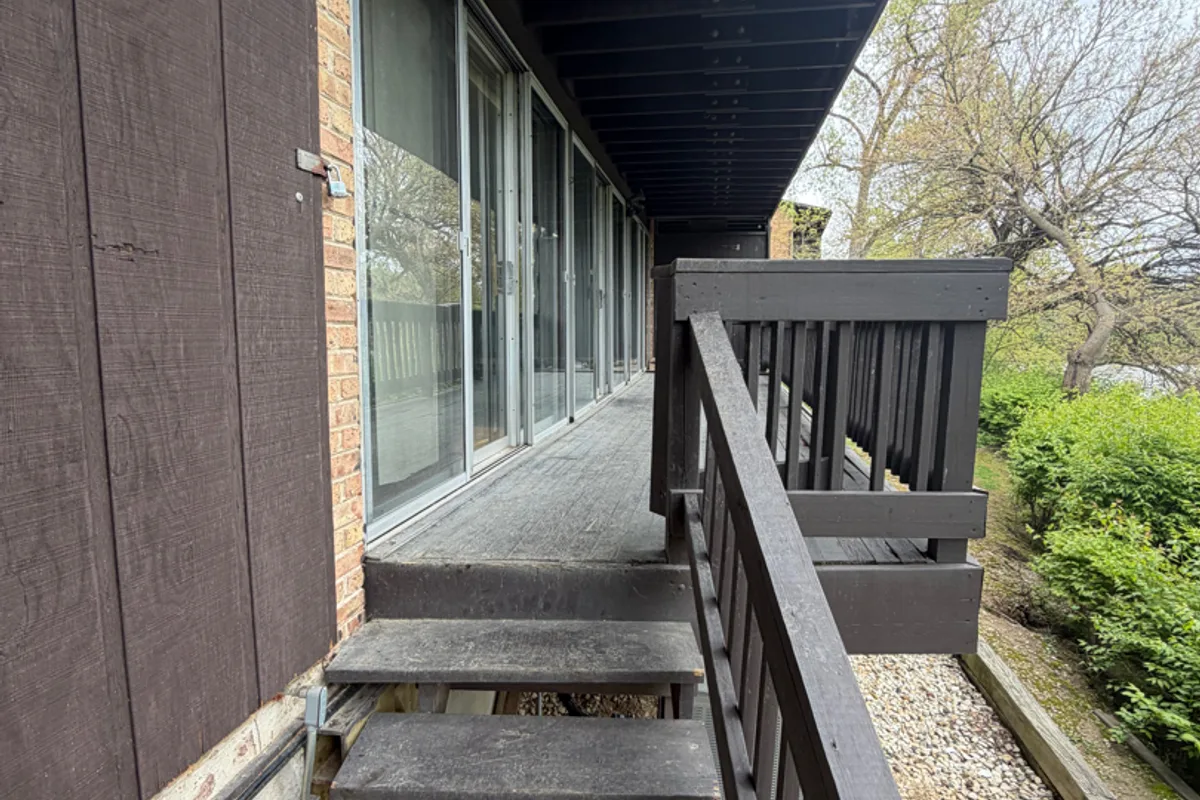
The photo arrives in our inbox every year around the third week of October, and it is always the same photo: dark leaf shapes printed across the deck boards like a stencil, right where the maple dropped its load and nobody got out there with a broom.
The message underneath is always the same too. Is my deck ruined?
Almost never. But the honest answer is that we cannot tell from the photo, and neither can you — because four completely different things turn deck boards black, they look alike from ten feet away, and each one needs a different response. One is cosmetic and lifts out with the right chemical. One is biological and comes back if you only treat the surface. One is a reaction between the wood and your own fasteners. And one means the board is finished and should be cut out.
We have been cleaning and restoring wood decks since 2015, and misreading which one you have is the most expensive mistake we see homeowners make in the fall. It usually costs a pressure washer rental, a Saturday, and a deck surface that now needs sanding.
Key Takeaways
- Black on a deck is mildew, tannin staining, iron staining, or decay. Only decay damages the wood structurally.
- Two tests separate them in five minutes: a drop of household bleach, and a screwdriver probe.
- Mildew and gray surface need sodium percarbonate. Tannin and iron stains need oxalic acid. Neither responds properly to chlorine bleach, which breaks down lignin and corrodes fasteners.
- The damage clock is not 48 hours. Surface mold needs wood moisture roughly 20–28% held for about a week; decay fungi need above roughly 28%.
- Pressure is what turns a wash into a sanding job. The chemistry does the work, not the machine.
Four Things Turn a Deck Black. Only One Is Serious.
Start here, because everything downstream — what you buy, how hard you scrub, whether you call anyone — depends on which of these four you are actually looking at.
| What it is | What it looks like | Where it shows up | Does it harm the wood? |
|---|---|---|---|
| Mildew & algae | Diffuse gray-black or greenish film, soft edges, slick underfoot when wet | The shaded, slow-drying side. North exposures, under trees, behind planters | Surface only — but it signals the deck is staying wet |
| Tannin / extractive stain | Brown-black, tea-colored, often the literal outline of a leaf | Anywhere leaf litter, acorns or pine needles sat. Sun or shade, it makes no difference | No. It is discoloration, not decay |
| Iron / tannin reaction | Blue-black halos and streaks with sharp edges | Rings around screws and nails, under railing brackets, below metal furniture feet | No, but it flags corroding hardware worth checking |
| Decay (rot) | Dark and dull, sometimes with cross-grain cracking. Stays dark after cleaning | Board ends over joists, stair stringers, post bases, under the bottom rail | Yes. This is the one that matters |
Notice that three of the four rows are cosmetic. That is the useful headline: most fall blackening on a deck is ugly, not dangerous. The job is to prove which row you are in before spending money.
The Two Tests That Tell Them Apart in Five Minutes
1. The bleach drop test
This one comes straight out of the extension literature and it is the fastest diagnostic in exterior wood care. Put one or two drops of fresh 5% household bleach directly on the dark spot and watch it. As Purdue's cooperative extension states in its guide to discoloration on exterior surfaces, mildew will usually bleach out in one or two minutes. A stain that does not lighten is not mildew.
Use bleach that has not been sitting in the garage since last summer — sodium hypochlorite loses potency on the shelf, and a weak solution hands you a false negative. And note exactly what this test is: two drops, for information. It is not permission to wash the deck with the stuff, for reasons a few sections down.
2. The screwdriver probe
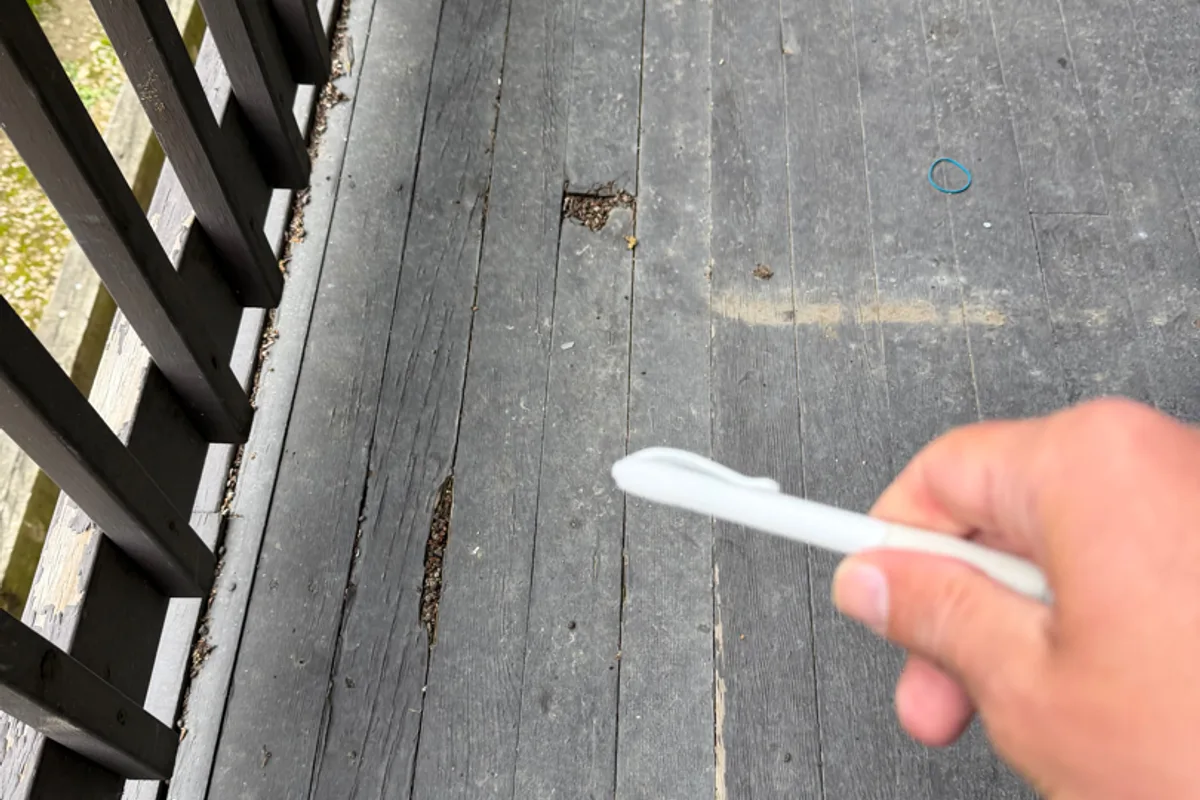
Push a screwdriver into the dark area with moderate hand pressure. Sound wood pushes back and lifts long, stringy splinters. Decayed wood takes the tip with almost no resistance and breaks off short, crumbly and brittle. That difference is unmistakable once you have felt both.
Probe where water actually sits, not where the stain is most obvious: the ends of boards over the joists, the stair stringers, the base of every post, and the underside of the bottom rail. Rot starts in the places you cannot see from standing height, which is exactly why the black patch in the photo is often the least important thing in it.
3. Read the pattern before you touch anything
- Leaf-shaped, tea-brown: tannin. The leaf sat there, it rained, and the tannins leached into the wood.
- Rings and halos around every fastener: iron reacting with the wood's own tannins. Cedar and redwood do this readily, and oak leaf litter provokes it on almost any species.
- Broad, soft-edged gray-black on one side of the deck only: mildew plus oxidized surface, on the side that never dries out.
- Sharp rectangles and circles: the outline of a mat, a planter or a chair leg. That is trapped moisture, and it is the pattern we most want people to take seriously, because it repeats in the same spot every single year.
It Is Not 48 Hours. It Is the Week the Leaves Stayed Wet.
You will read all over the internet that leaves left on a deck for 48 hours will damage it. That number is invented, and repeating it makes people panic about the wrong thing while ignoring the real one.
Wood biology runs on moisture content, not hours. The USDA Forest Products Laboratory's Wood Handbook sets out the thresholds plainly in its chapter on biodeterioration: surface mold and stain fungi grow when wood moisture content sits roughly between 20% and 28% for about a week, and the decay fungi that genuinely destroy wood need moisture above roughly 28% — fiber saturation — sustained for more than a week. Wood kept air-dry, below 20%, does not decay.
Translate that to your deck and it sorts into three cases:
- A scatter of leaves that dries out between rains leaves a tannin stain. Cosmetic. Annoying. Fixable.
- A packed, matted pile in a shaded corner through a wet October holds those boards in the 20–28% band for weeks. Now you have real growth, and it will be back next year, because the conditions that produced it have not changed.
- Debris jammed into the gaps between boards, sitting directly on the joist tops all winter, keeps that hidden wood near or above fiber saturation for months. That is where decay starts, and you will not see it until a board end goes soft underfoot.
Which reframes the weekly fall sweep entirely. It is not housekeeping. It is the cheapest moisture-control measure available to a deck owner, and it is the reason we raise it on every fall estimate we write.
Why Chlorine Bleach Is the Wrong Tool for a Job It Seems Perfect For
Bleach lightens mildew — that is precisely why the drop test works — so the leap to washing the whole deck with it feels obvious. It is still a mistake, for four reasons.
- It attacks lignin. Lignin is the natural adhesive binding wood fibers together. Break it down and the surface goes furry and gray and stays that way. You have not cleaned the deck; you have weathered it faster.
- It fights the wood's own pH. Wood sits slightly acidic and hypochlorite is strongly alkaline. Swinging the surface basic is hard on the cell structure and leaves a surface no finish wants to bond to.
- It corrodes hardware. Fasteners, joist hangers and brackets are the last things on a deck you want a chloride solution running over — and rust in contact with wood is what creates the iron stains from the table above.
- It does not remove tannin. It hides it. The discoloration is still in the fiber, and it bleeds back through the next few wet-dry cycles, usually a few weeks after you have decided the job worked.
A drop for diagnosis, fine. A gallon across 400 square feet, no.
What Actually Removes Each One
Mildew, algae and gray surface: sodium percarbonate
Sodium percarbonate — sold as oxygen bleach, and the active ingredient in most reputable wood deck cleaners — releases hydrogen peroxide in water. It kills surface growth and lifts the gray oxidized lignin off the top of the fibers without the cellular damage chlorine causes. It works on dwell time, not force: wet the surface, keep it wet for the labeled interval, agitate with a stiff bristle brush, rinse.
Tannin and iron staining: oxalic acid
Oxalic acid is what is in the bottle labeled “wood brightener,” and it is the step nearly every DIY attempt skips. It works differently from a cleaner: it forms soluble complexes with the iron and the extractives causing the discoloration and carries them off the wood, rather than bleaching them out of sight. That is why an oxalic treatment holds and a bleach treatment does not.
The conventional mix is about four ounces of oxalic crystals per gallon of warm water in a non-metallic container. Keep the wood wet with it for ten to twenty minutes, scrub with a bristle brush or broom, then rinse with considerably more water than feels necessary. Gloves and eye protection are not optional with this one.
The order matters more than the products
Clean first with the alkaline percarbonate, brighten second with the acidic oxalic, rinse thoroughly, then let the wood dry down to the finish manufacturer's specified moisture content before anything goes on it. Run that sequence backwards and you leave an alkaline surface that no stain or sealer will bond to properly — peeling finish six months later is the symptom, and we walked through that failure mode in detail in why decks peel.
One more thing, and it is the warning we repeat most often: keep the pressure down. A pressure washer set high does not remove tannin staining, because tannin staining is not sitting on the surface waiting to be blasted off. What high pressure does remove is the soft spring growth between the grain lines, leaving a furred, wavy surface that now requires sanding. We have taken over plenty of jobs that started as a $300 wash and became a restoration because of a rented machine. There is more on that in deck pressure washing mistakes to avoid.
What 660 Feet of Cedar in Oak Park Looked Like
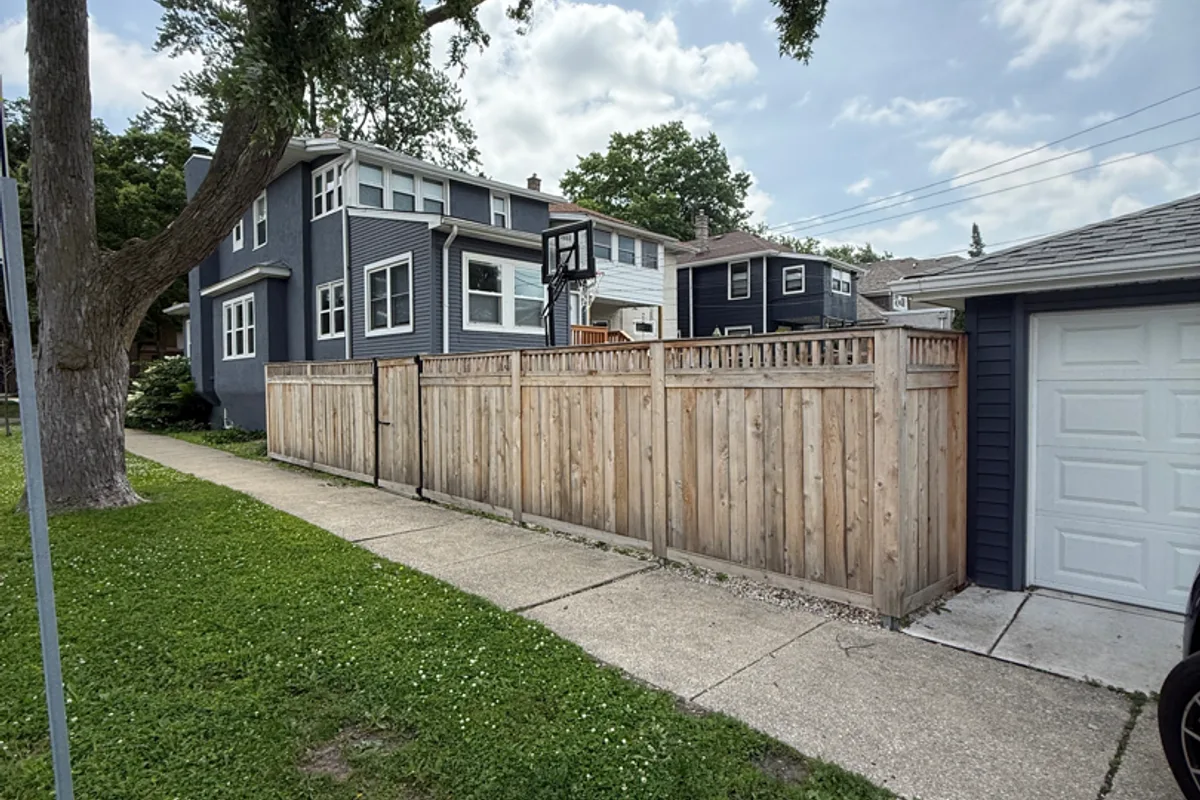
The clearest example we have of what canopy shade does to wood is not a deck at all. It is a cedar fence Alan and our Clarendon Hills crew restored this past July, and it demonstrates every point above at a scale you can see.
Oak Park is an old, densely tree-lined neighborhood, and cedar fences there age hard for exactly the reason decks under trees do: the canopy cover and seasonal moisture hold humidity against the wood and never let it dry all the way down. This fence had 660 linear feet of it. The color was gone, the surface had gone a flat chalky gray, and the grain had opened to the point where the wood was drinking water rather than shedding it. Posts, upper and lower braces, pickets — the same heavy graying throughout, and not only on the street side.
What we did on that job is the sequence from the section above, run at length:
- Cleaner first, applied across the full run, then power washed at controlled pressure to pull the accumulated dirt and grime out of the open grain.
- Wood brightener second, on the areas that called for it — the oxalic step, to bring the pH back down and open the surface so the sealer could get into it.
- Both faces treated, interior and exterior, not just the side the neighbors see. The shaded side is the side that fails.
- One coat of TWP 1500 Series in Natural, an oil-based semi-transparent that saturated into the cedar instead of sitting on top of it, letting the grain read through with the knots and harder growth rings sitting slightly lighter.
- $1,660 for 660 linear feet — roughly what replacing twenty feet of that fence would have cost.
Here is why we bring up a fence in a post about black decks: that fence is a preview. Same neighborhood, same trees, same held humidity — and the deck in that backyard sits under identical conditions with less airflow underneath it. When we see chalky gray cedar on a fence line, we ask to walk the deck too, and we are usually right about what we find. The full write-up with before-and-after photos is on the Oak Park fence restoration project page.
When Black Is Not a Stain at All
The other half of the story is the deck where the probe goes in.
In August our Northbrook crew restored a 500-square-foot cedar deck in Highland Park that had gone deeply gray under years of UV, the old solid finish peeling and lifting in patches, fasteners popping up through the face of the boards. Underneath the discoloration, thirteen floor boards had rotted past salvage and the railings had loosened enough to move underfoot.
That deck did not need a cleaner. It needed thirteen boards cut out and replaced, twelve handrails swapped, the skirting rebuilt, full sanding, and then a coat of solid stain color-matched to what had originally been on it — $6,560 all in, and still a restoration rather than a replacement, because the framing underneath was sound. That is the usual verdict, and it is worth holding onto: the surface is what fails, and the structure is usually salvageable. The sequence is documented on the Highland Park deck restoration project page.
The deck in the photographs at the top of this post is the harder version of the same story. It is a 200-square-foot pressure-treated pine deck in Lisle, an older DuPage County neighborhood full of mature trees, and Andrew's crew restored it in August. From standing height it read as a blackened surface with a failed coating. What the wash exposed was seventeen floor boards and ten joists deteriorated past saving — the framing, not just the deck boards. The railings had gone soft at the base and the floor flexed underfoot, which is what told us the rot had already moved below the surface before we ever put a hose to it.
That is the whole argument for clearing the board gaps. Nothing about the joists was visible from above. The staircase came out and was rebuilt from the stringers up, new joists were sistered to the existing framing, and the job finished at $8,435 — more than four times the cost of the Oak Park clean-and-seal, on a deck a third of the size. The full breakdown is on the Lisle deck restoration project page.
The line between the two outcomes is not how black the deck looks. It is whether the wood is still wood. Dark and firm gets cleaned. Dark and soft gets replaced. That is the whole test.
What This Costs With Deck Doc
Here is what the work runs in our market. Final numbers come after the walkthrough, because condition drives them more than square footage does.
| Service | Typical cost |
|---|---|
| Deck cleaning & wash | $150 – $500 |
| Inspection & condition report | Free with service |
| Re-seal / clear coat | $1.50 – $3.50 / sq ft |
| Re-stain & seal | $2.50 – $5 / sq ft |
| Minor board or fastener fix | $40 – $150 |
| Seasonal maintenance package | $400 – $1,500+ |
A clean-and-brighten is one of the cheapest things you can buy for a wood deck, and it is also the service we most often steer people toward when they called us about staining. That is not salesmanship in reverse — it is that a deck with a sound finish and a tannin problem needs cleaning, not another coat over the top. Deck Doc has been family-owned since 2015, our crews are trained in-house rather than subcontracted, we are fully insured with $1M in liability coverage through State Farm, and every job is satisfaction guaranteed. A guarantee only means something if we are willing to sell the smaller job when the smaller job is the right one.
If you want to see which cleaners and finishes we run and why, they are listed on our products we use page. Finished work is in the project gallery, and an on-site look is free either way through our free estimate request.
The Call We Take Every October
It reaches our Northbrook office a dozen times each fall, and it always opens the same way: “There are black marks all over the deck. What do I do?”
We ask three questions before anything else.
- Does it hose off? If a spray of water and a stiff brush lightens it, you are looking at soil and surface growth, and it is a wash.
- Is it under trees? If yes, and the marks are leaf-shaped, we are almost certainly talking about tannin — and the fix is a cleaner and a brightener, not a sander and not a fresh coat of stain.
- Do the boards feel soft anywhere? This is the one that decides whether we get in a truck. We walk people through the screwdriver probe right there on the phone.
Most of those calls end with us telling someone their deck is fine, to sweep it, and to book a wash in spring. That conversation earns us nothing on the day, and it is the reason a lot of those same people call us back two years later for the restoration they actually need. The calls where the probe sinks, we come out that week — because a soft board end in October is a much smaller job than the same board in April, after a winter of freeze-thaw has worked on it.
If you would rather have someone look at it than guess from a photo, that is what our deck cleaning and repair visits are for, and you can reach any of our service locations directly.
The Fall Routine That Prevents Most of This
- Sweep weekly once leaves start dropping. Not for appearance — to keep the boards under 20% moisture content.
- Clear the gaps between boards. Packed debris stops drainage and holds water directly against the joist tops, where you cannot see it.
- Lift furniture, mats and planters off the wood for the winter. Rubber-backed mats are the worst offenders we find.
- Do not tarp the deck. A cover traps moisture instead of letting the wood breathe. We have pulled tarps off in March and found more rot underneath than on the uncovered half.
- Check where the downspouts dump. One overflowing gutter rots a corner years ahead of the rest of the deck.
- Walk the shaded side deliberately. It dries slowest, so it fails first. Probe it.
- Treat stains before winter rather than after. A tannin stain that sits through a freeze-thaw season sets deeper into the fiber and takes more aggressive work to lift in spring.
- If the staining season has closed, book the wash anyway. Cleaning and repairs tolerate cool weather far better than finishing does — the temperature limits are laid out in our post on the last safe day to stain a deck.
Frequently Asked Questions
Are the black spots on my deck mold or tannin stains?
Use the bleach drop test. One or two drops of fresh 5% household bleach on the spot: mildew usually bleaches out within one to two minutes, and a stain that does not lighten is not mildew. Tannin also looks different — brown-black rather than gray-black, often holding the literal shape of the leaf that made it, and it appears in sun as readily as in shade. Mildew spreads as a diffuse film on whichever side of the deck dries slowest.
Will pressure washing remove black leaf stains from a deck?
Usually not, and pressure is the wrong lever to pull. Tannin staining is a chemical discoloration inside the fiber, not dirt on top of it, so turning the pressure up only erodes the soft grain and turns a cleaning job into a sanding job. Sodium percarbonate handles mildew and gray surface; oxalic acid brightener handles tannin and iron. Low pressure, long dwell.
Can I use bleach to clean black spots off my deck?
Two drops as a test, yes. A whole deck, no. Chlorine bleach breaks down lignin and leaves the surface fuzzy and gray, it is corrosive to fasteners and hardware, and it does not remove tannin — it lightens it temporarily and the discoloration bleeds back. Oxygen bleach (sodium percarbonate) does the cleaning job without the fiber damage.
How long can leaves sit on a deck before they cause damage?
Longer than the “48-hour rule” you will read online, but the real variable is drying, not elapsed time. The Forest Products Laboratory puts surface mold growth at roughly 20–28% wood moisture content sustained about a week, and decay above roughly 28%. Leaves that dry out between rains leave a cosmetic stain; a packed pile that never dries is a different problem entirely.
Do black stains mean my deck is rotting?
Not by themselves. Probe with a screwdriver: sound wood resists and splinters long, decayed wood sinks and crumbles short. Discoloration that stays dark after cleaning and probes soft is decay, and that board gets replaced. Check board ends over joists, stair stringers, post bases and the underside of the bottom rail — that is where it starts. Read more about how we work, or see our approach to full deck restoration.